Item GL groups—Purchasing
Related information
 Related topics
Use item GL groups to categorize items to post transactions to specific General Ledger accounts. If your company is using Revenue Management with Order Entry, you’ll also use item GL groups to specify the default deferred revenue account and revenue recognition template for items belonging to the item GL group.
You can view, add, edit, or delete item GL groups from either Inventory Control, Order Entry, or Purchasing. There's only one set of item GL groups in Sage Intacct. Regardless of where you access the item GL groups, you’ll be working with the same set of data.
| Subscription | Inventory Control, Order Entry, or Purchasing |
|---|---|
| Regional availability |
Inventory Control: Australia, Canada, UK, USA, South Africa Order Entry and Purchasing: All regions |
| User type |
Employee Business Project Manager Warehouse |
| Permissions | Item GL groups: Add, Edit, Delete, List, View |
| Configuration | The Deferred revenue GL account and Default revenue recognition template fields only display if you’re also subscribed to Standard or Advanced Revenue Management for Order Entry. |
| Restrictions | Employee, Project Manager, and Warehouse users can only list and view item GL groups. |
About item GL groups
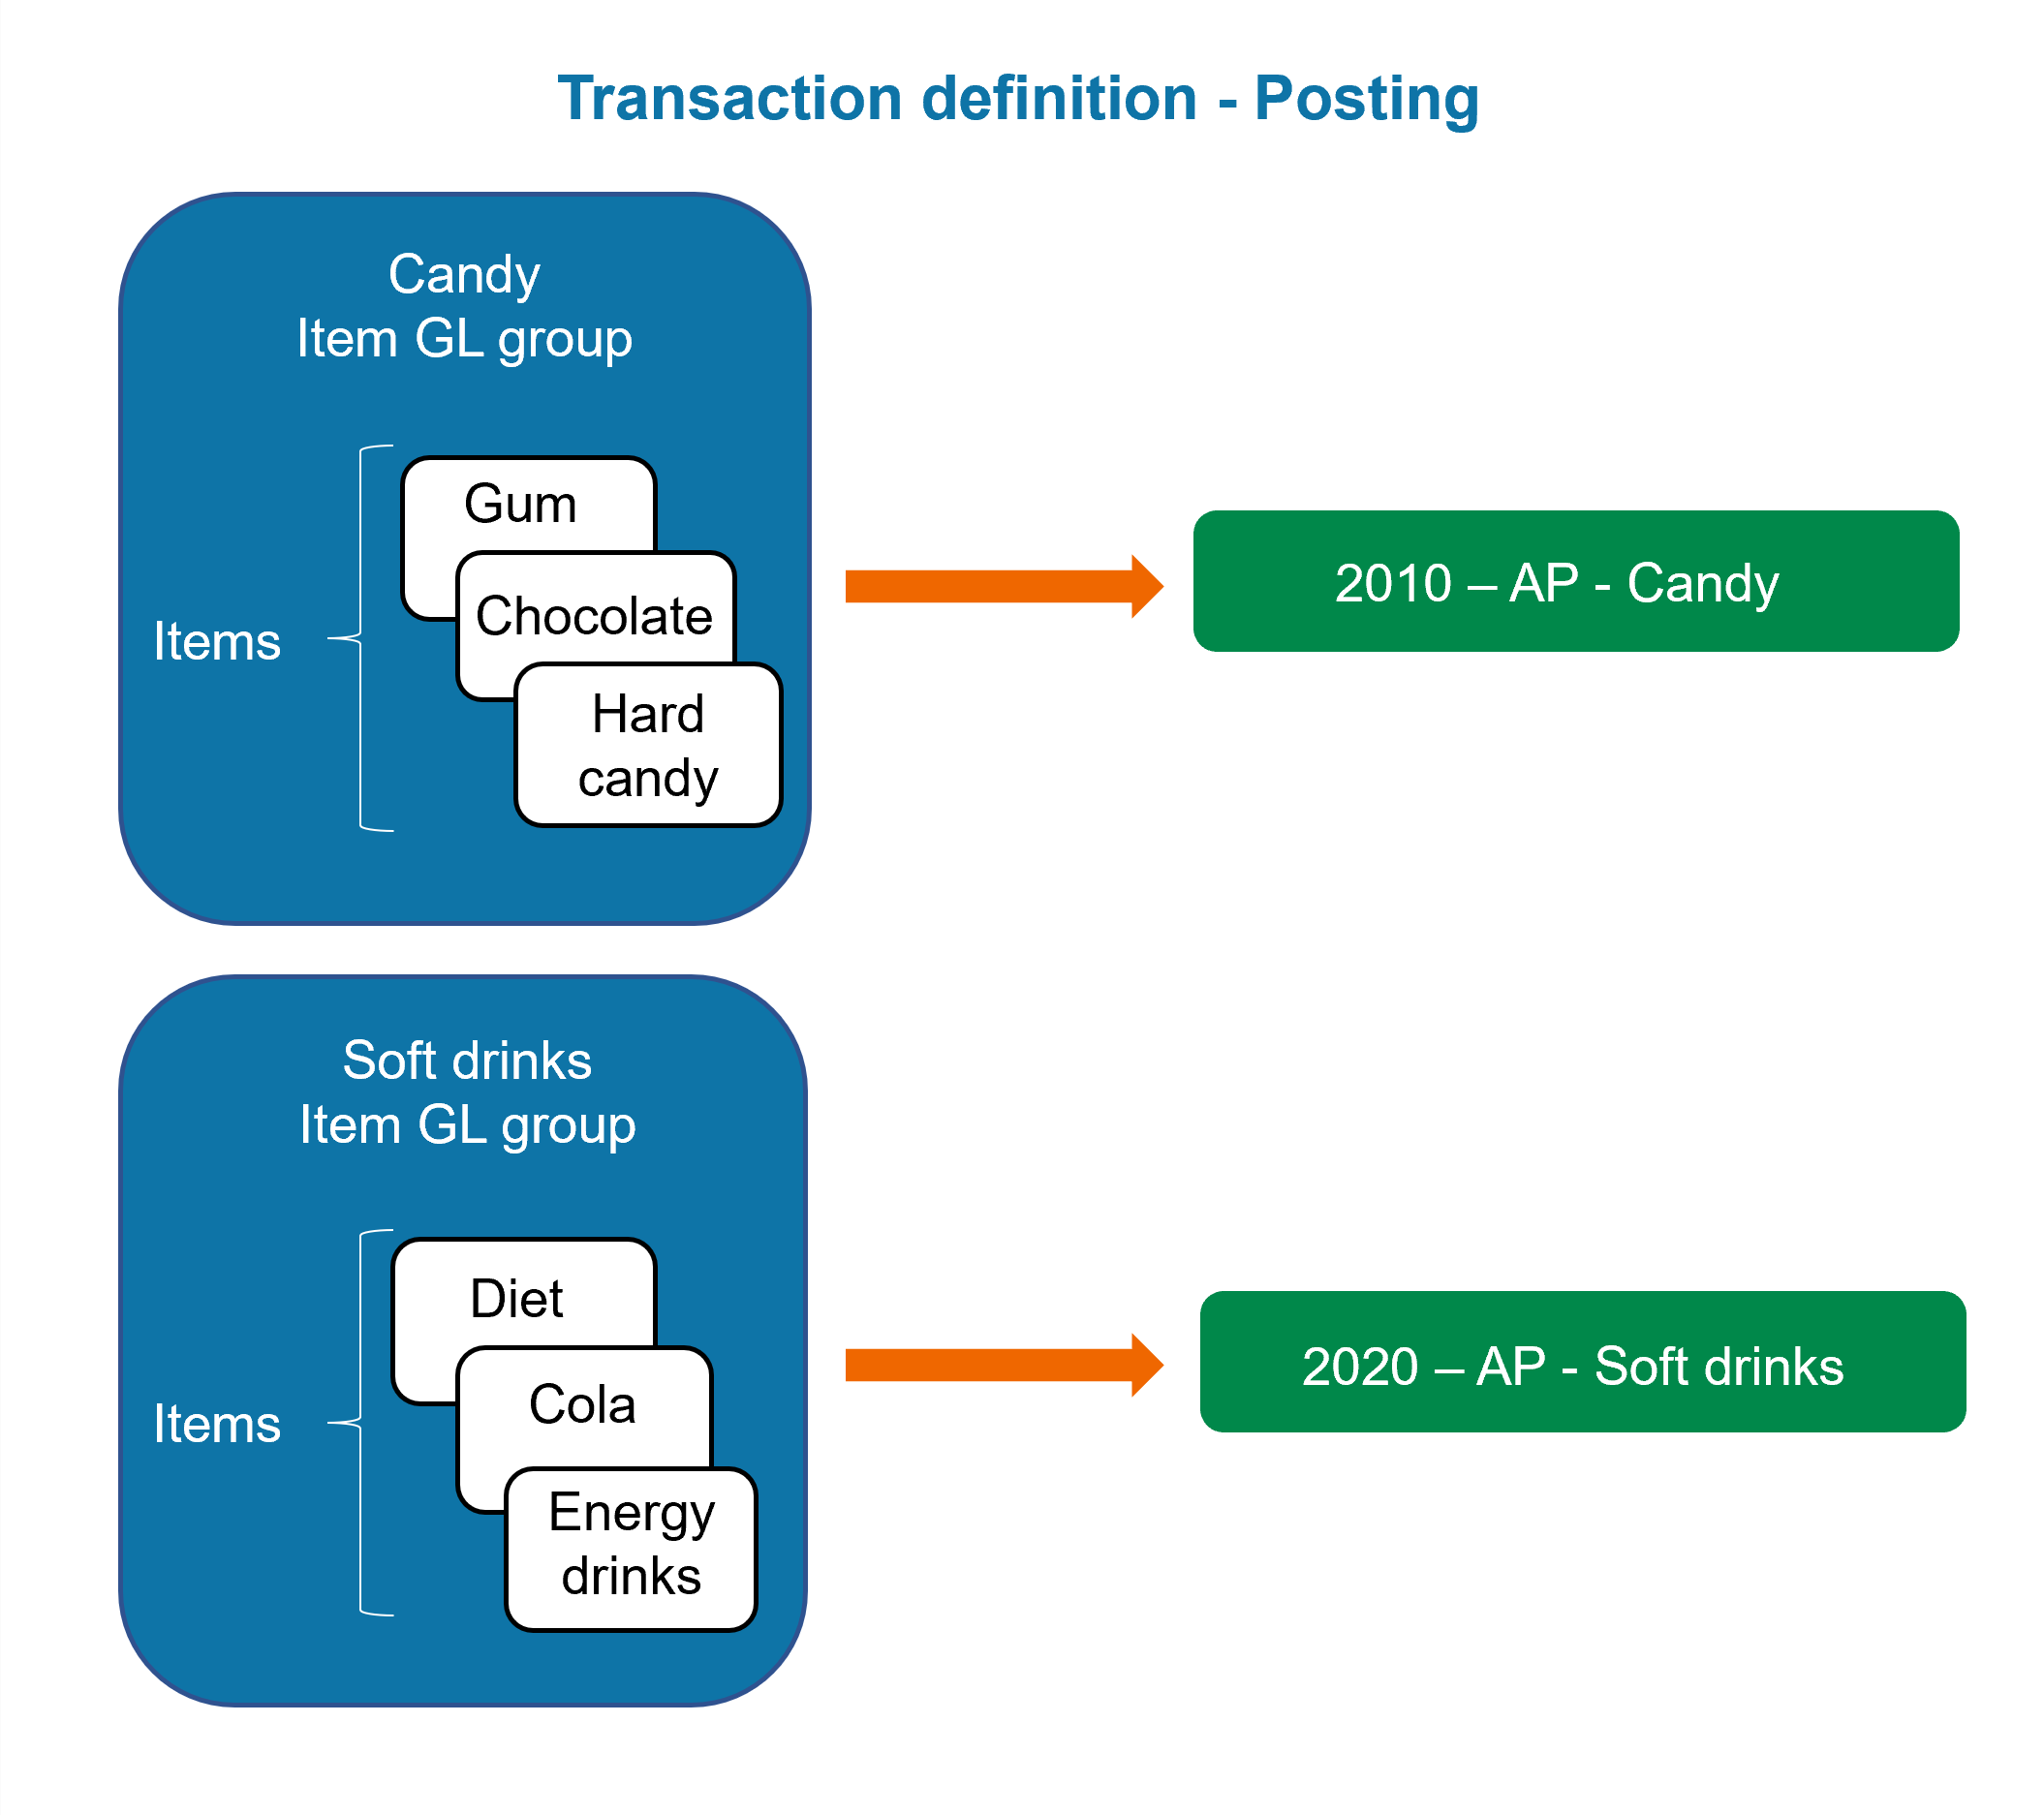
You can create item GL groups that are specific to your business. Then you can assign an item GL group to each item. Finally, you can map the item GL group to GL accounts on transaction definitions. When a user creates a transaction that posts (for example, an OE sales invoice, PO purchase invoice, or an Inventory transaction that affects COGS The cost of the products that a retailer, distributor, or manufacturer has sold.) and chooses an item that has an item GL group associated with it, Sage Intacct automatically posts the transaction to the applicable GL account. The user does not need to know which posting account to choose because it has already been configured in the transaction definition.
For example, suppose that your company buys candy and soft drink products in bulk. Assigning all candy items to one item GL group lets you more easily track them in the GL. By extension, you might want to track soft drink products separately because you need to pay special taxes on them. So, you might create two GL groups: Candy and Soft Drinks.
Add an item GL group
-
Go to Purchasing > Setup > Items and select Add (circle) next to GL groups.
- In the Name field, enter the Item GL group name.
- To defer revenue for items belonging to this item GL group, use the dropdown lists to select the desired Deferred revenue GL account and Default revenue recognition template.
-
Select Save.
Edit an item GL group
-
Go to Purchasing > Setup > Items > GL groups.
-
Find the item GL group that you want to edit.
-
Select Edit at the end of the row.
-
Select either or both the Deferred revenue GL account and Default revenue recognition templates.
- Select Save.
-
Go to Purchasing > Setup > Items > GL groups.
-
Select Edit.
-
Select either or both the Deferred revenue GL account and Default revenue recognition templates.
View an item GL group
-
Go to Purchasing > Setup > Items > GL groups.
-
Find the item GL group that you want to view.
When you access the list from the top level, you initially see only records that were created at the top level. To see records created within entities, select Filters and then select Include entity records. Select Apply to update the filter.
-
Select More actions > View at the end of the row.
-
Go to Purchasing > Setup > Items > GL groups.
-
If you accessed this page from the top level of your company, view item GL groups created in all entities by selecting Include private.
Do not see Include private on your page?The most common reason that you do not see this feature is that you're using a custom view.
When you select a custom view, some options are hidden. Depending on the page you're on, the Include inactive, Include one-time use, Include private, and Display hierarchy options are not visible. For example, if you're viewing from a custom view, the Financial Reports list will not provide the Include inactive option.
To see the options again, switch back to View All. See Custom views for more information.
- Select View.
Delete an item GL group
You can delete an item GL group if it has not been used by any transactions or assigned to any items. Delete the item GL group in the level of the company (top level or entity) in which it was created.
-
Go to Purchasing > Setup > Items > GL groups.
-
Find the item GL group.
-
Select More actions > Delete at the end of the row.
-
Select Delete to confirm.
-
Go to Purchasing > Setup > Items > GL groups.
- Select the checkbox at the end of the row of the item GL group that you want to remove.
Depending on your user preferences, Sage Intacct might prompt you to confirm the deletion.
-
Select Delete if you’re prompted.
Assign an item GL group to an item
| Subscription |
Purchasing |
|---|---|
| User type |
Business |
| Permissions | Items: List, Edit |
-
Go to Purchasing > Setup > Items.
- Find the item that you want to assign an item GL group to.
-
Select Edit at the end of the row.
-
In the Inventory section, select the item GL group.
-
Select Save.
-
Go to Purchasing > Setup > Items.
-
Find the item in the list.
-
Select Edit.
-
In the Inventory section, select the item GL group.
-
Select Save.
Map an item GL group to GL accounts on transaction definitions
You can map item GL groups to GL accounts on transaction definitions that post to either AP or the GL, such as a PO purchase invoice.
| Subscription |
Purchasing |
|---|---|
| User type |
Business |
| Permissions | Transaction definitions: Edit, List |
-
Go to Purchasing > Setup > More > Transaction definitions.
-
Find the transaction definition that you want to edit.
-
Select Edit at the end of the row.
-
Go to the Posting configuration tab.
-
Use the selection lists to map the appropriate GL accounts to item GL groups.
-
Select Save.
-
Go to Purchasing > Setup > More > Transaction definitions.
-
Select Edit next to the transaction definition.
-
Go to the Posting configuration tab.
- Use the selection lists to map the appropriate GL accounts to item GL groups.
-
Select Save.
Field descriptions
The following table describes each item on the Item GL groups information page.
| Field | Description |
|---|---|
|
Name |
Name of the item GL group. You cannot change the name after you save the item GL group. |
|
Deferred revenue GL account |
Select the account to which the deferred revenue for items belonging to this item GL group will post. Only required if you want to override the default deferred revenue account that's configured on each transaction definition. |
|
Default revenue recognition template |
Select a default revenue recognition template. When you add an item in this item GL group to a transaction, the Rev rec template field on the transaction will show the template selected here. Optional if you’re deferring revenue for items in the item GL group. Top level only: this dropdown list does not display revenue recognition templates where the Recognition method = Percent completed or Milestone and the Percent or milestone source = Project accounting. Learn more about revenue recognition templates. |
